Import Photos
The Photo Albums -> Import Photos menu item opens the following screen:
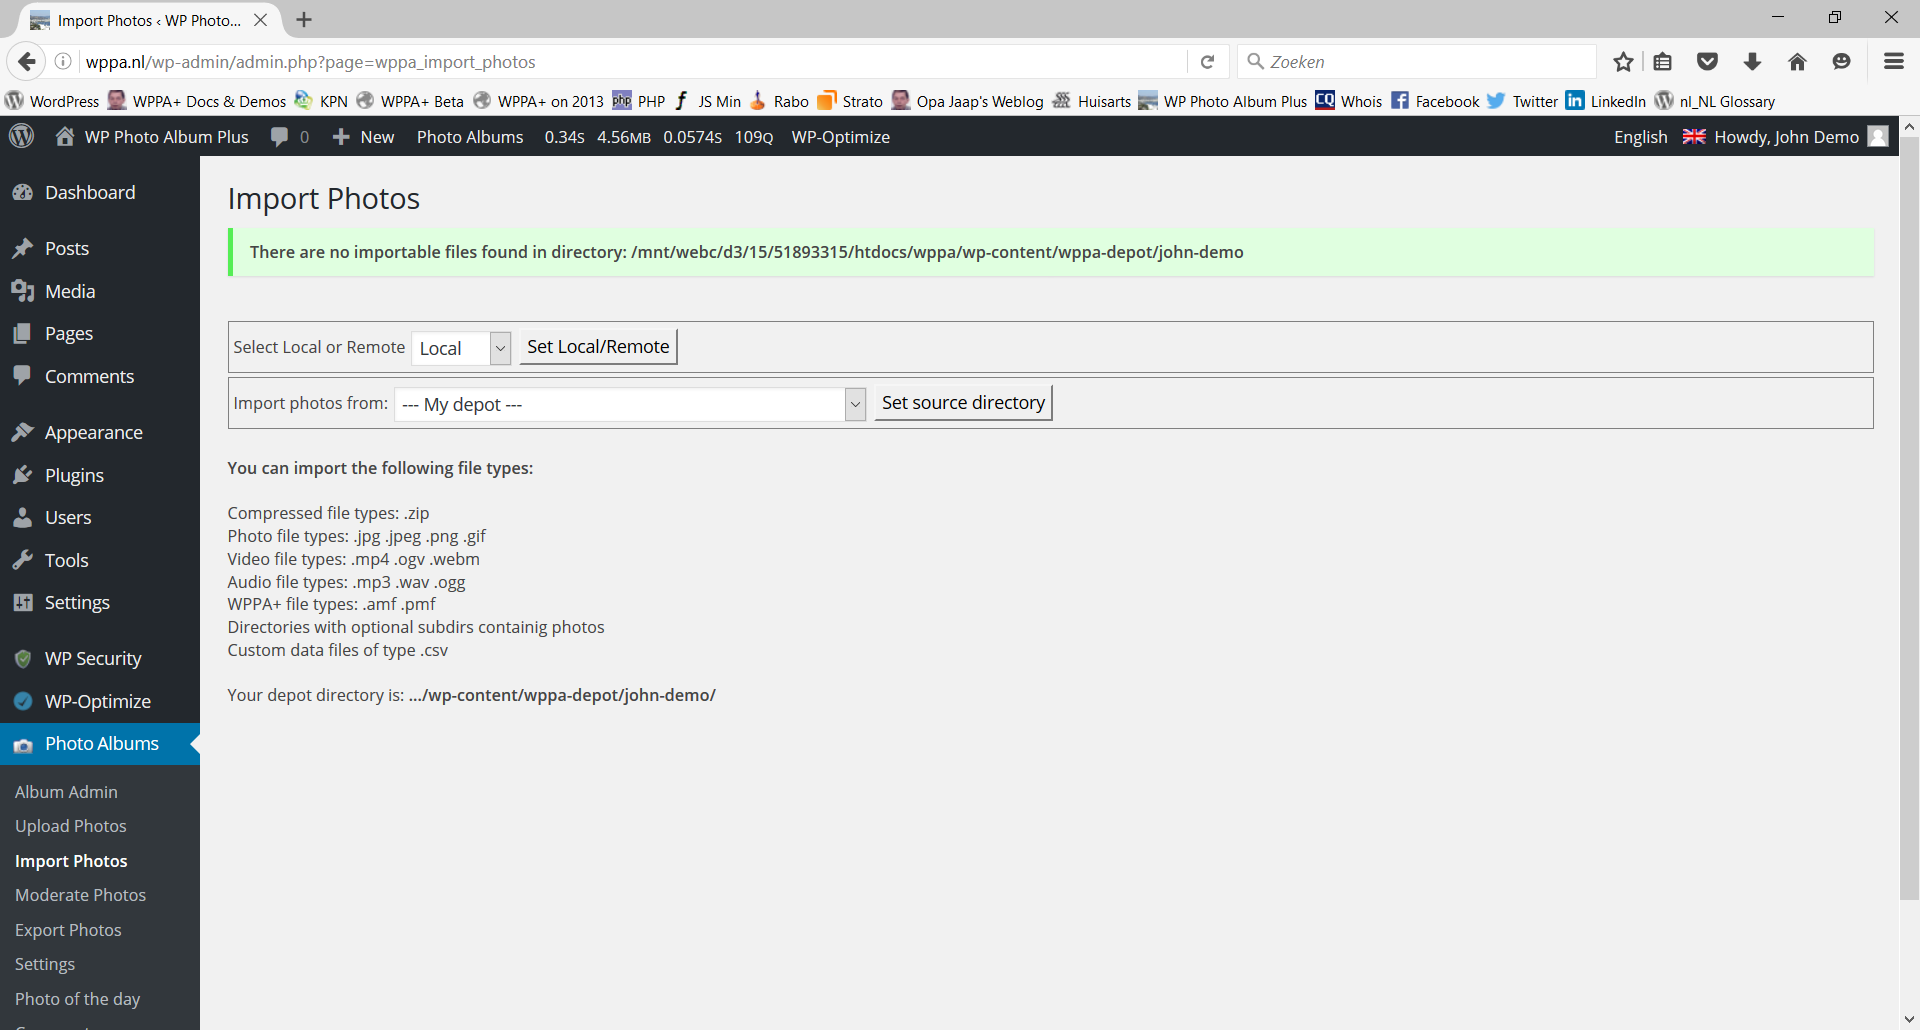
Photo Albums -> Import Photos admin page
When you first see this screen, it learns you where your Depot directory is.
It is usually something like
/....../wp-content/wppa-depot/{your-user-login-name}/What you should do is, create an FTP account to that specific location in your WordPress installation.
Now upload a few photos by an FTP program like FileZilla to your depot, and refresh the Import screen:
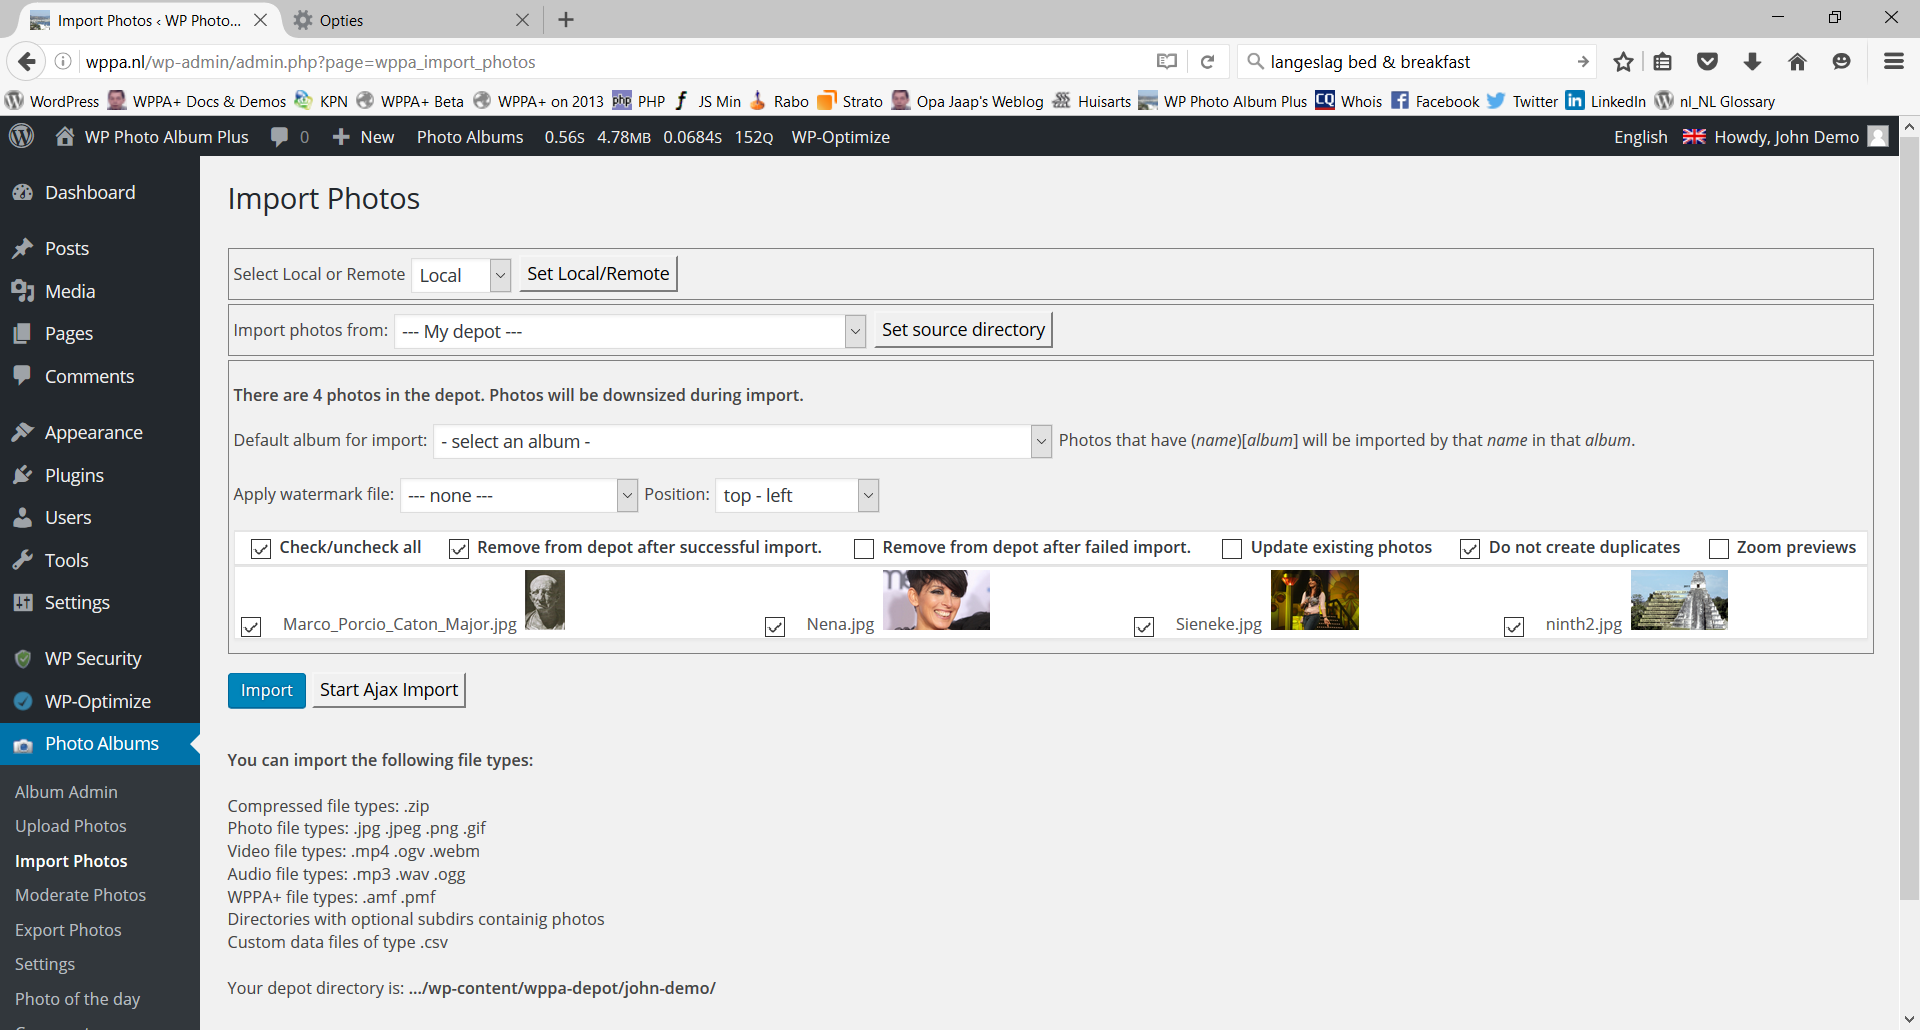
Photo Albums -> Import Photos admin page with photofiles in your depot
Select an album, and press the button.
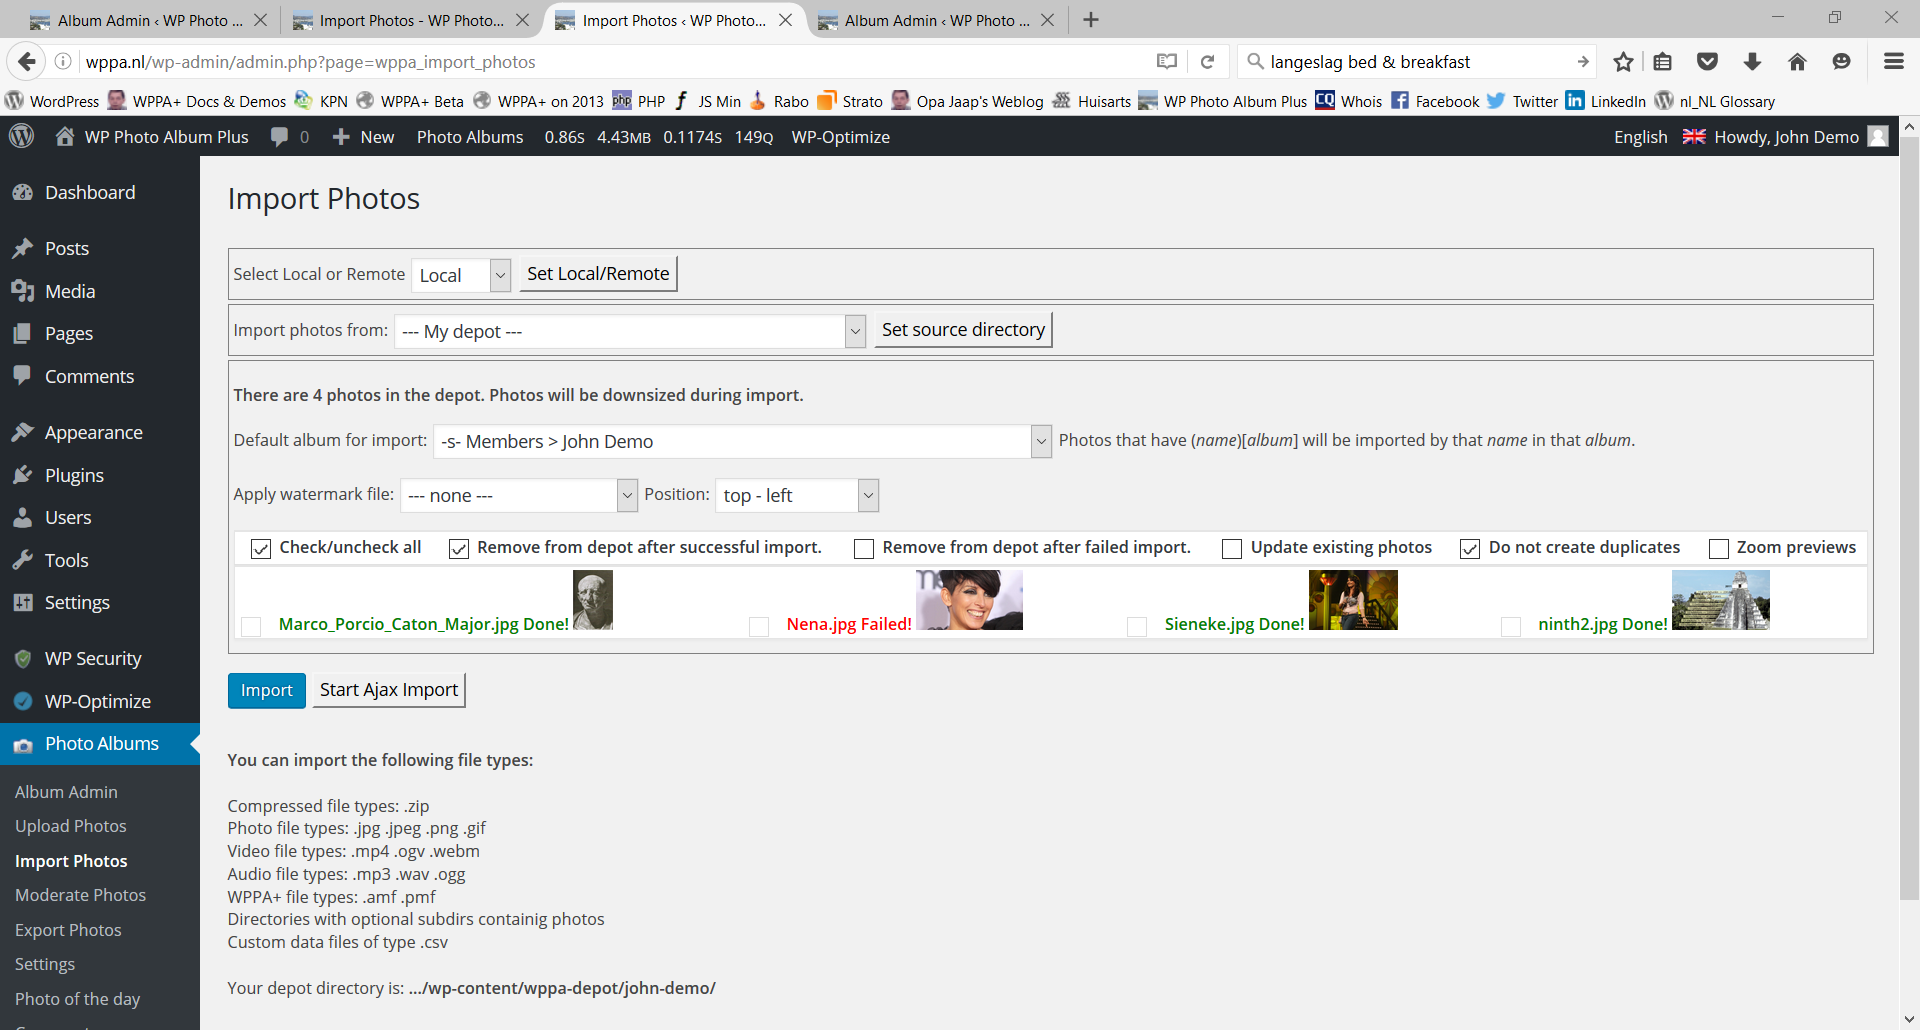
Photo Albums -> Import Photos admin page after completion of Ajax import
As you can see on the screen, there are various types of files that can be imported. If you enabled Audio and/or Video support on Basic settings -> General -> I you can import those file here too. The benefit of doing it this way is that you do not need to worry about max uploadable filesizes and all kind of other server limitations. No time-outs on the Ajax Import method while you can see the progression of the import process.
Two types of import can only be done using the button: Directories with optional subdirs containig photos, and Custom data files of type .csv.
A recommandation is to keep your depot clean - there are checkboxes to remove items after (un)successfull import - and process one type of files at a time. You may however import audio, video and possible poster image files at the same time.
A typical import page lay-out may look like this:
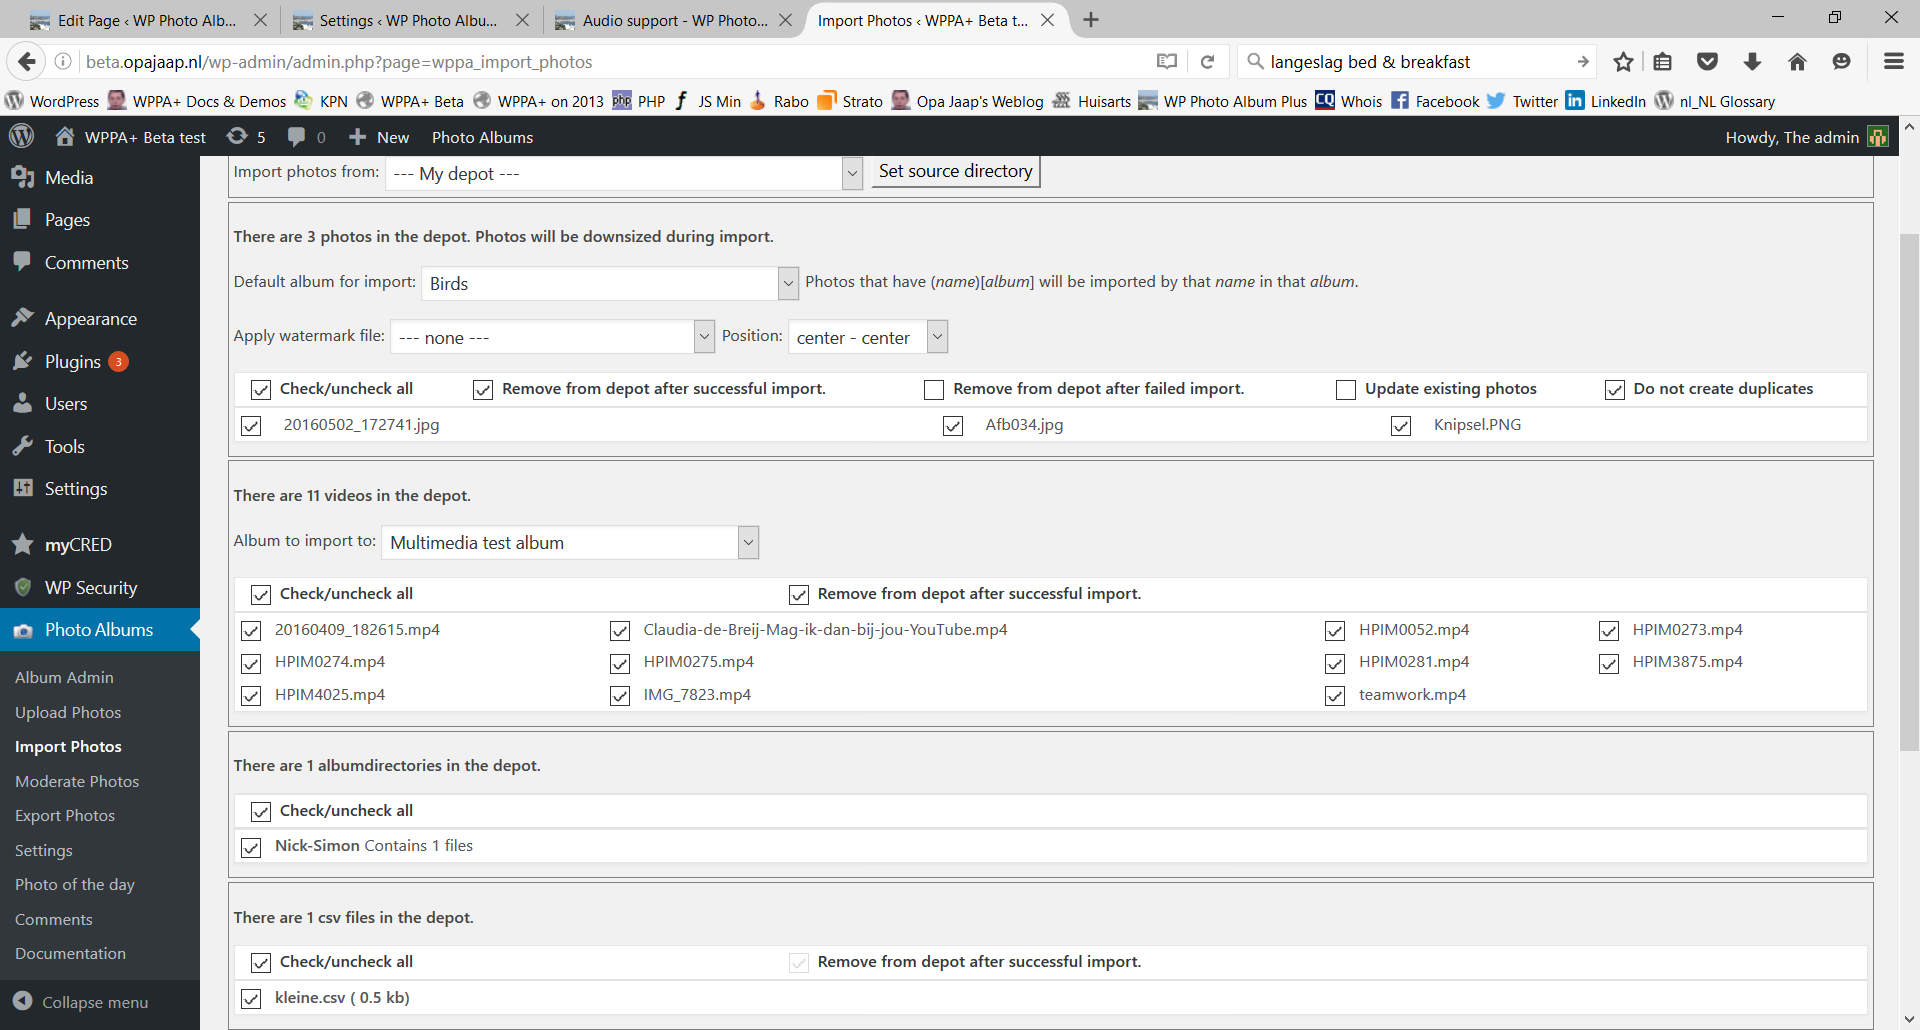
Photo Albums -> Import Photos admin page
Notes and recommandations:
- Import of directories with content is limited to photo files only.
- If you have one or more directories, there will not be an Ajax button.
- Do direcory import separate, out of an otherwise clean depot.
- The directory structure with possible sub-directories will be converted to the corresponding album structure with sub-albums accordingly.
- You can switch the preview thumbnails off in Advanced settings -> Admin -> III: Import related settings -> Item 8: Import page previews
- To import 'normal' wp media files, or other photo files from locations on your server, select the location in the Import photos from: selection box and press the button.
Locations that contain no usefull files are grayed out. - If your server allows you to use curl, you can import photos from other websites, if you know the urls of the pages where they show up, or you know the urls of the photofiles themselves. To do this, select Remote in the Select Local or Remote selection box and press the button; then select the remote location in the Import photos from: selection box and press the button.
- The Update existing photos checkbox enables you to overwrite existing photo files with possible newer versions. The name should be exactly the same as the existing photo and you do not need to select the album; all photos with the given name in any album will be updated with the new file.
- The Do not create duplicates checkbox enables you to prevent the import of the photo for the second time in an album where it is already present.
Importing from Nextgen galleries
If you want to migrate form Nextgen to WPPA, you can relatively easy import the existing photos from the nextgen galleries into the WPPA system.
Make sure Local/Remote is set to Local; then select the ngg gallery you want to import, the existing ngg galleries are clearly indicated by the --- Ngg Galeries --- prefix to the folders that contain ngg galleries.
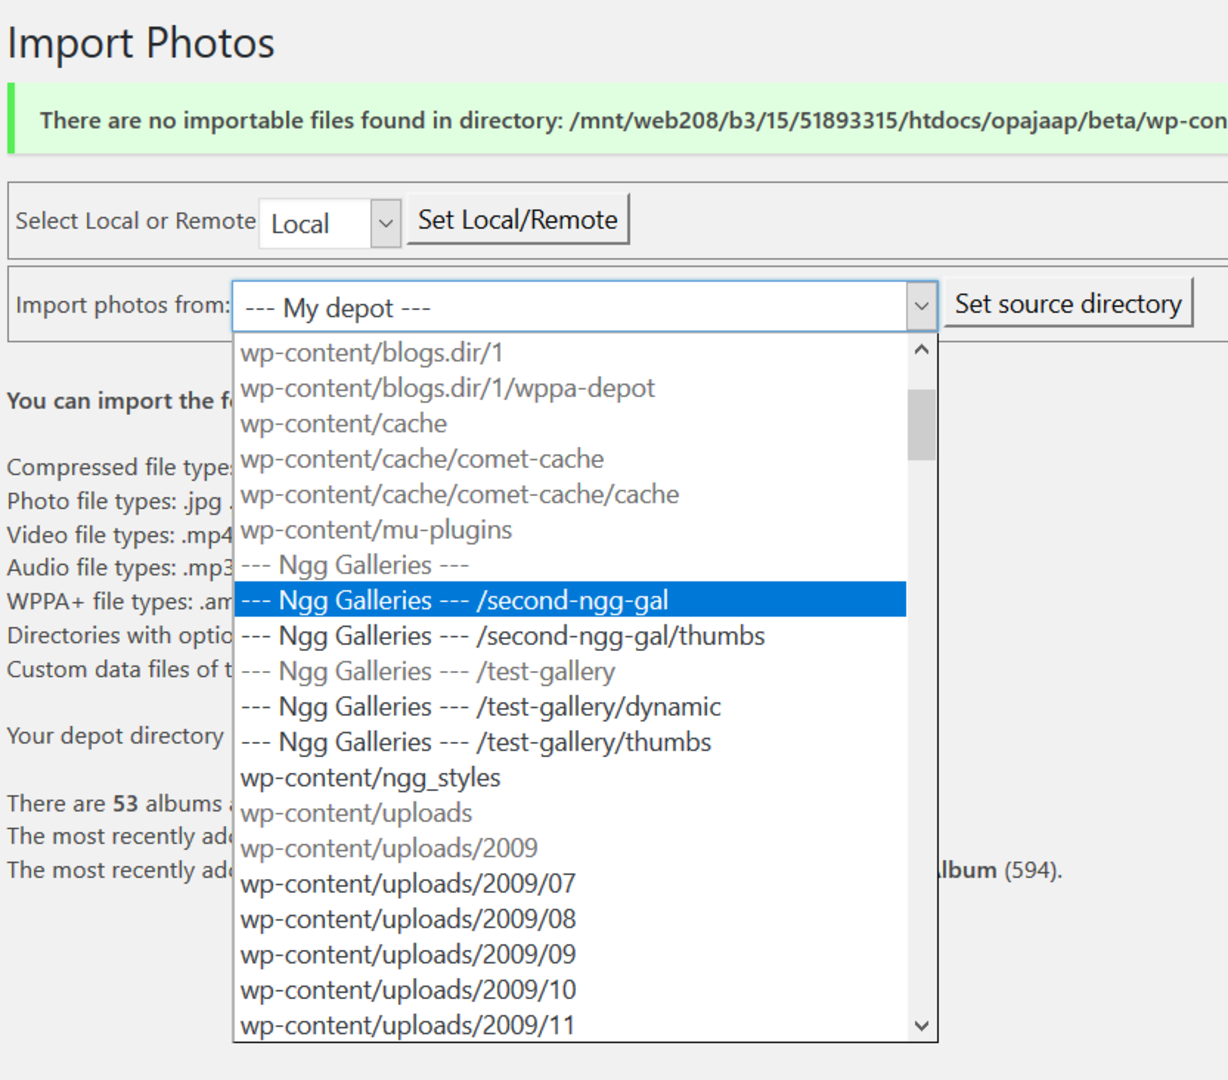
Select Nexgen gallery to import here
Select such a folder, and set it active by pressing the button.
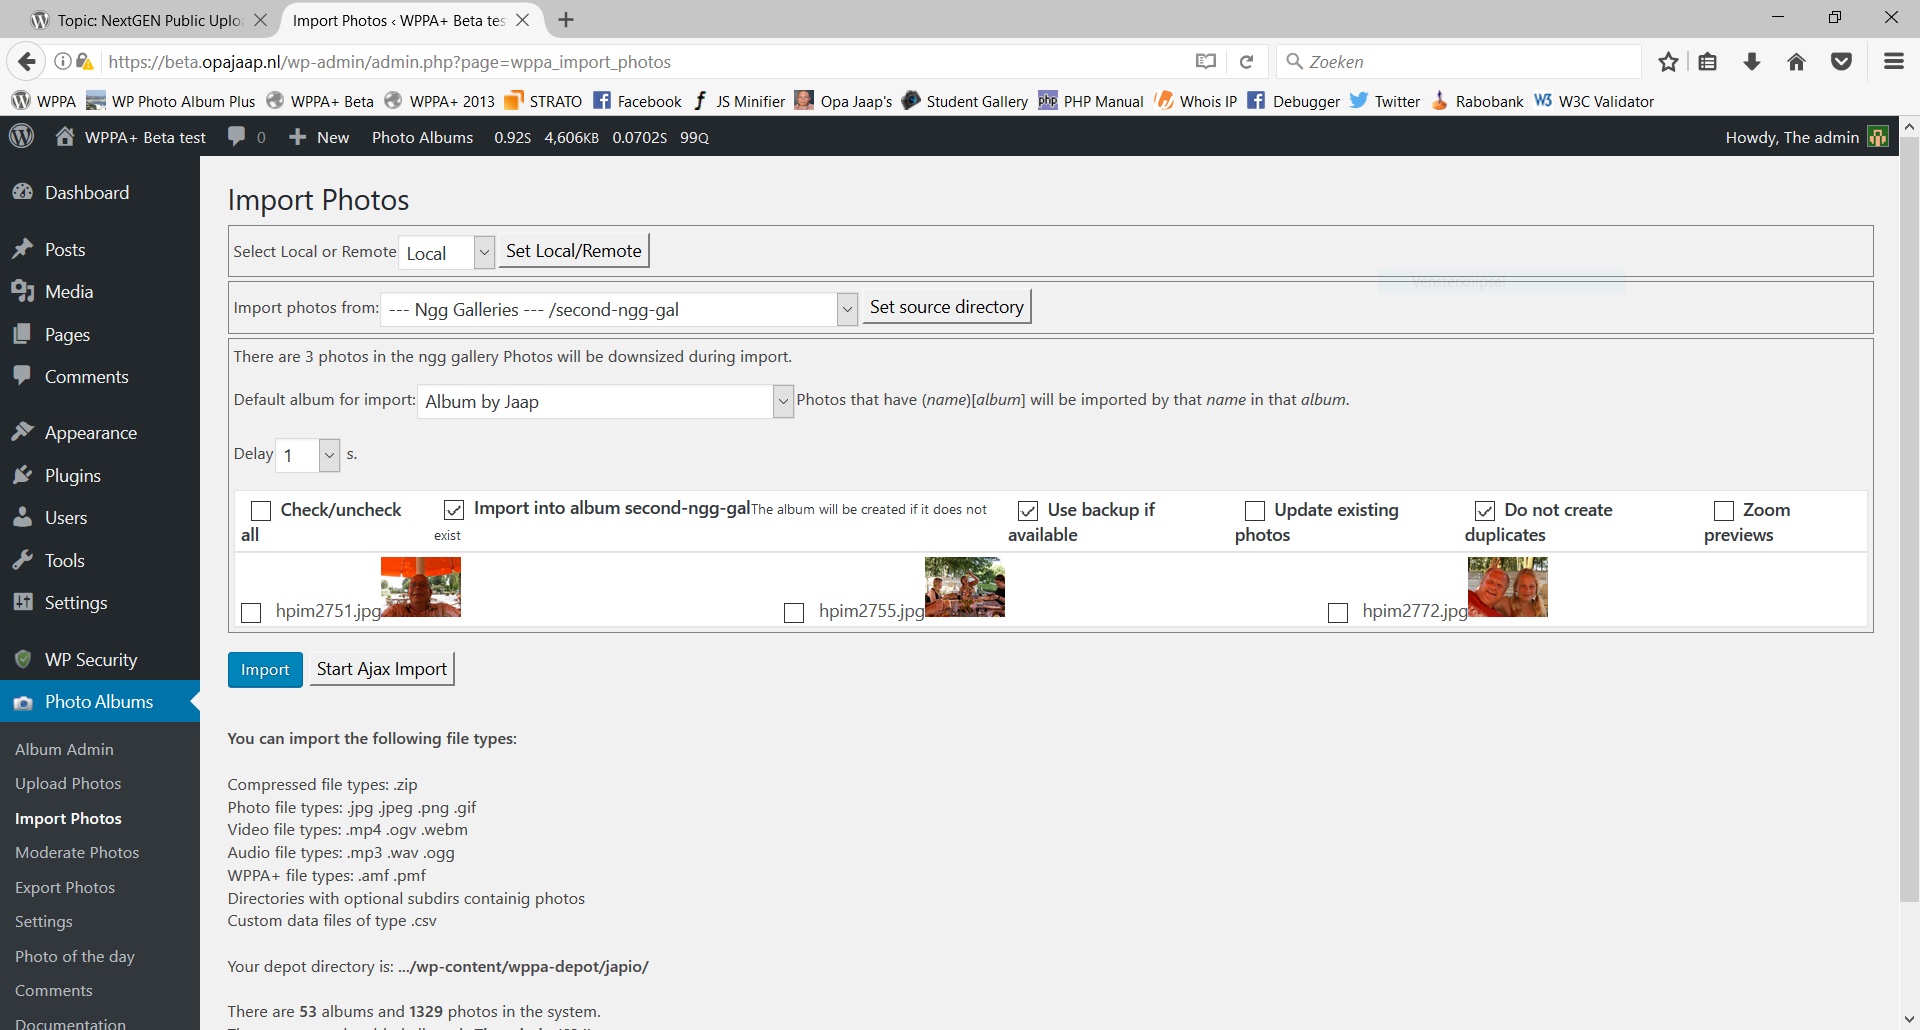
The actual import from ngg gallery screen
The Use backup if available checkbox enables you to use the most original version of the photo as it is in the ngg gallery.